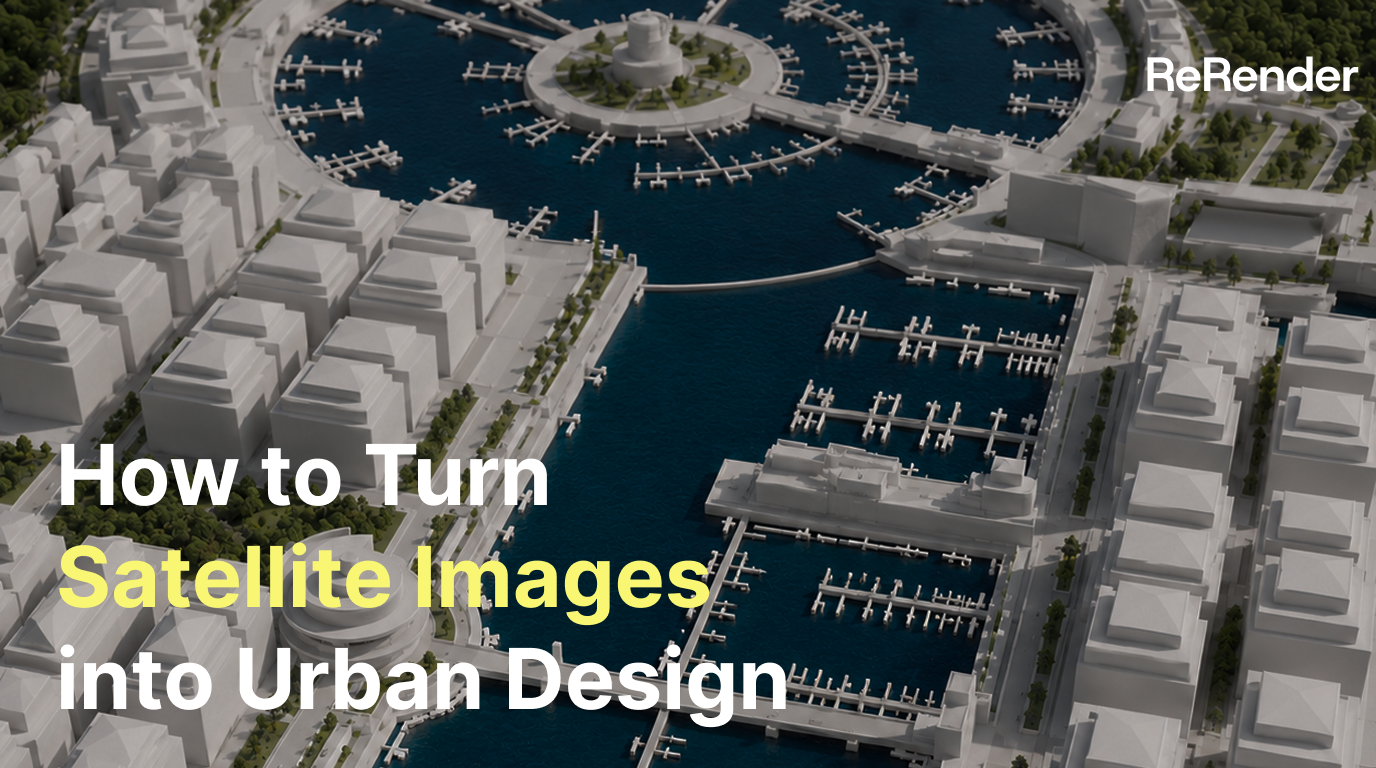
How to Turn Satellite Images into Urban Design Concepts
Learn how to use ReRender Workbench to turn a satellite image into an urban design concept, from master planning to 3D massing and marina renderings.
Why start with a satellite image?
In early-stage urban design, a satellite image is often the first reference we use to understand a site. It shows the coastline, roads, water edges, existing land conditions, and the surrounding development context.
In this tutorial, we’ll use ReRender Workbench to turn a raw island coastal satellite image into a series of urban design visuals. The goal is not to replace planning analysis, zoning review, or site research. Instead, we want to quickly explore how a site can evolve into a planning framework, a 3D massing model, and finally a realistic marina rendering.
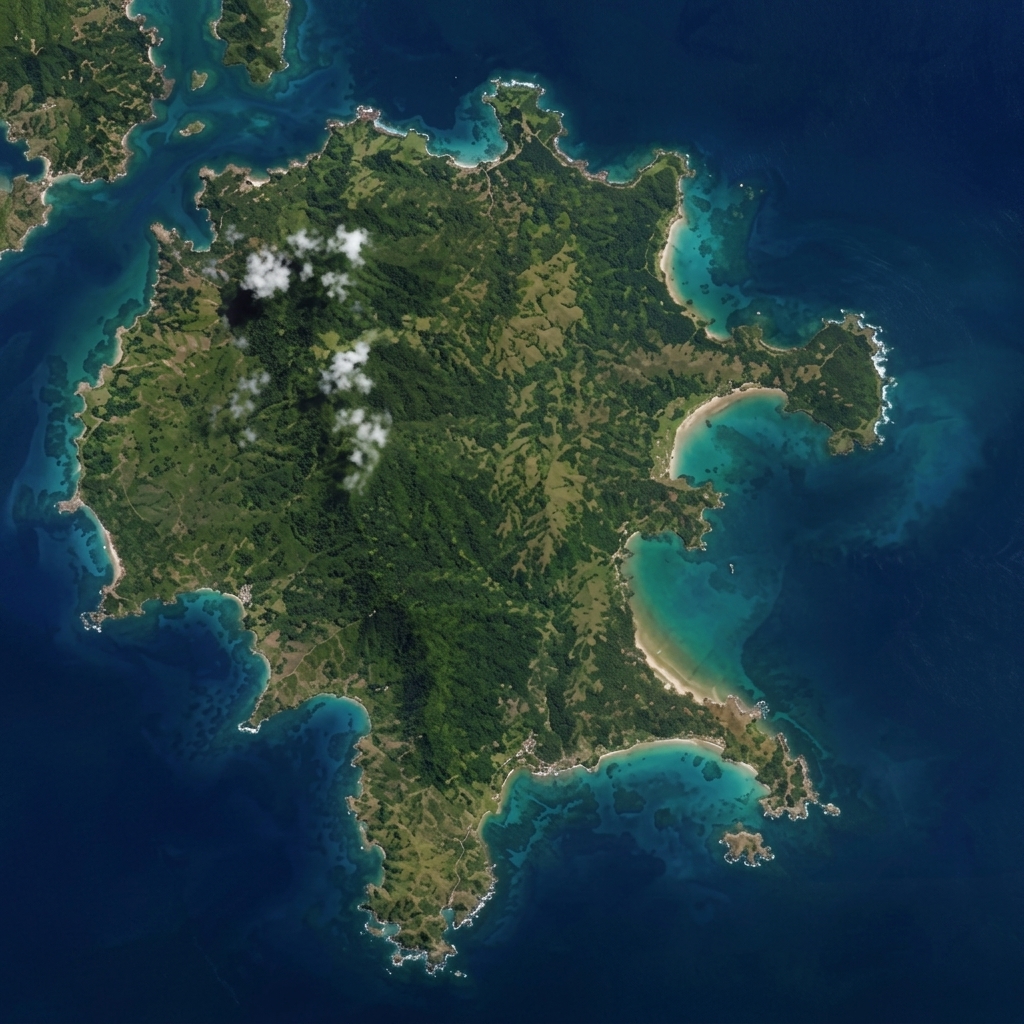 Figure 01. Original satellite image used as the starting point
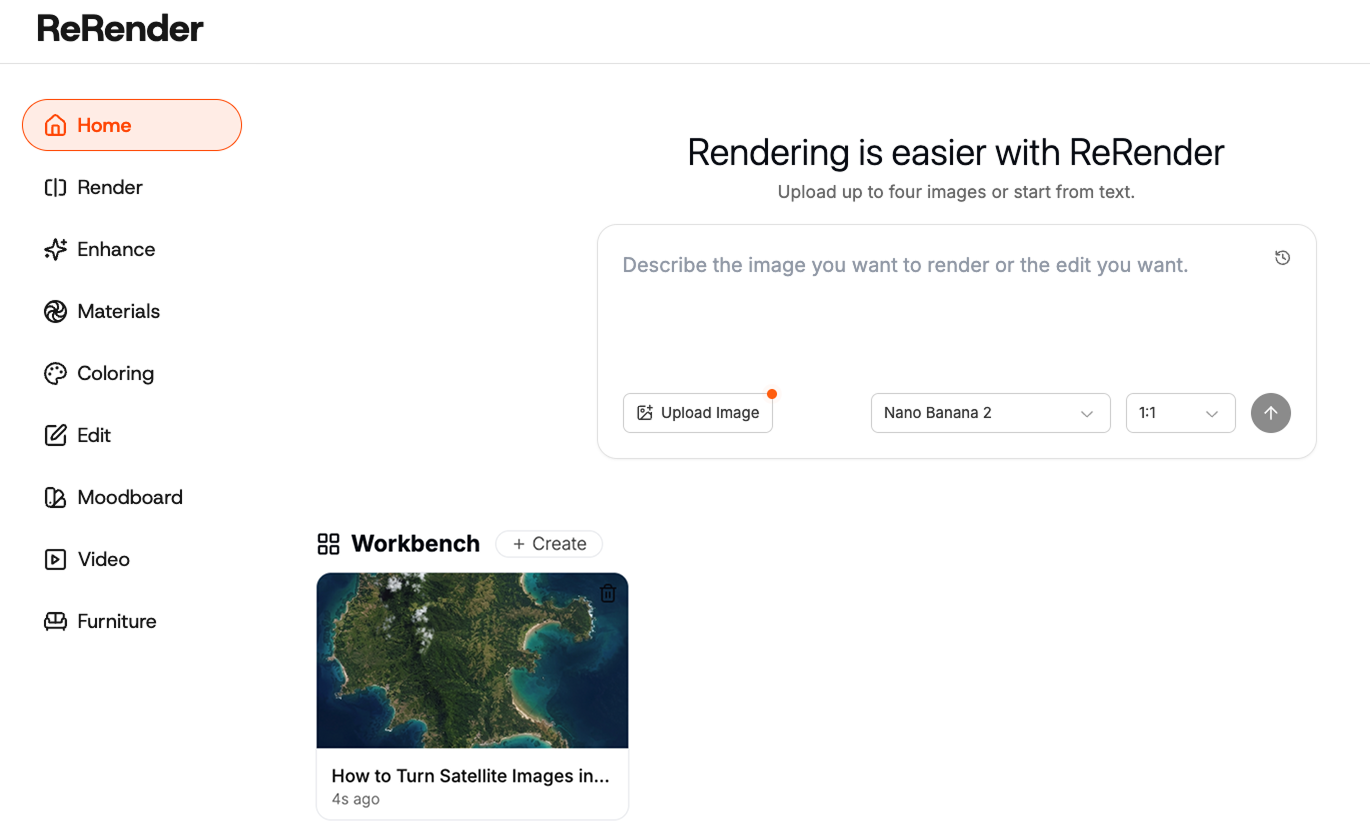
Step 1 — Log in and open Workbench
First, log in to ReRender and go to the home page. From there, open Workbench.

Workbench is useful when you want to edit and develop an image step by step instead of generating one final image immediately. For this workflow, we use the satellite image as the base input, then keep editing it with prompts as the design becomes more specific.
After entering Workbench, upload the satellite image of the site. A clearer image usually works better because the AI can better understand the coastline, land boundaries, and surrounding water context.
Step 2 — Define the development boundary
Before generating the city plan, we first define the development boundary. This step helps the AI understand which part of the island should become the planning area.
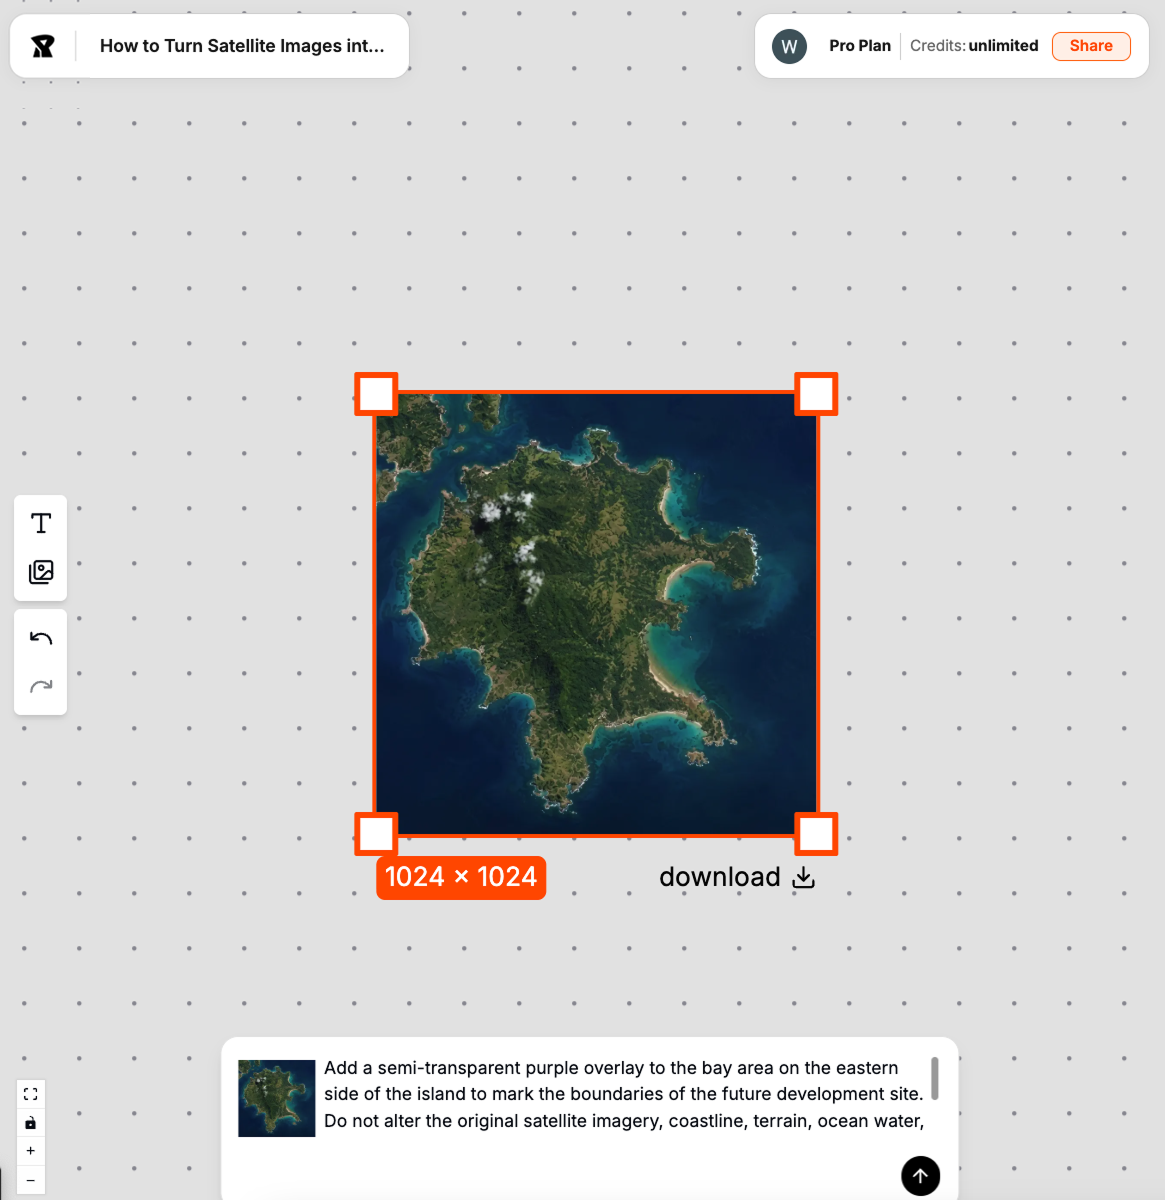 Figure 02. Defining the development boundary before generating the urban plan
Add a semi-transparent purple overlay to the bay area on the eastern side of the island to mark the boundaries of the future development site. Do not alter the original satellite imagery, coastline, terrain, ocean water, lighting, or camera perspective. The purple region serves strictly as a visual guide for the scope of subsequent editing.
We usually avoid adding building style or rendering keywords at this stage. If the prompt becomes too visual too early, the output may create landmarks or buildings before the planning structure is clear.
Step 3 — Generate a coastal urban master plan
Next, use “Prompt to edit the image” to transform the site into a coastal urban master plan.
At this stage, the prompt should focus on the planning framework: roads, waterfront spaces, block structure, open space, and connections to the coastline.
create a coastal urban master plan on the defined island site, preserve the coastline, add road network, urban blocks, waterfront public space, parks, marina planning framework
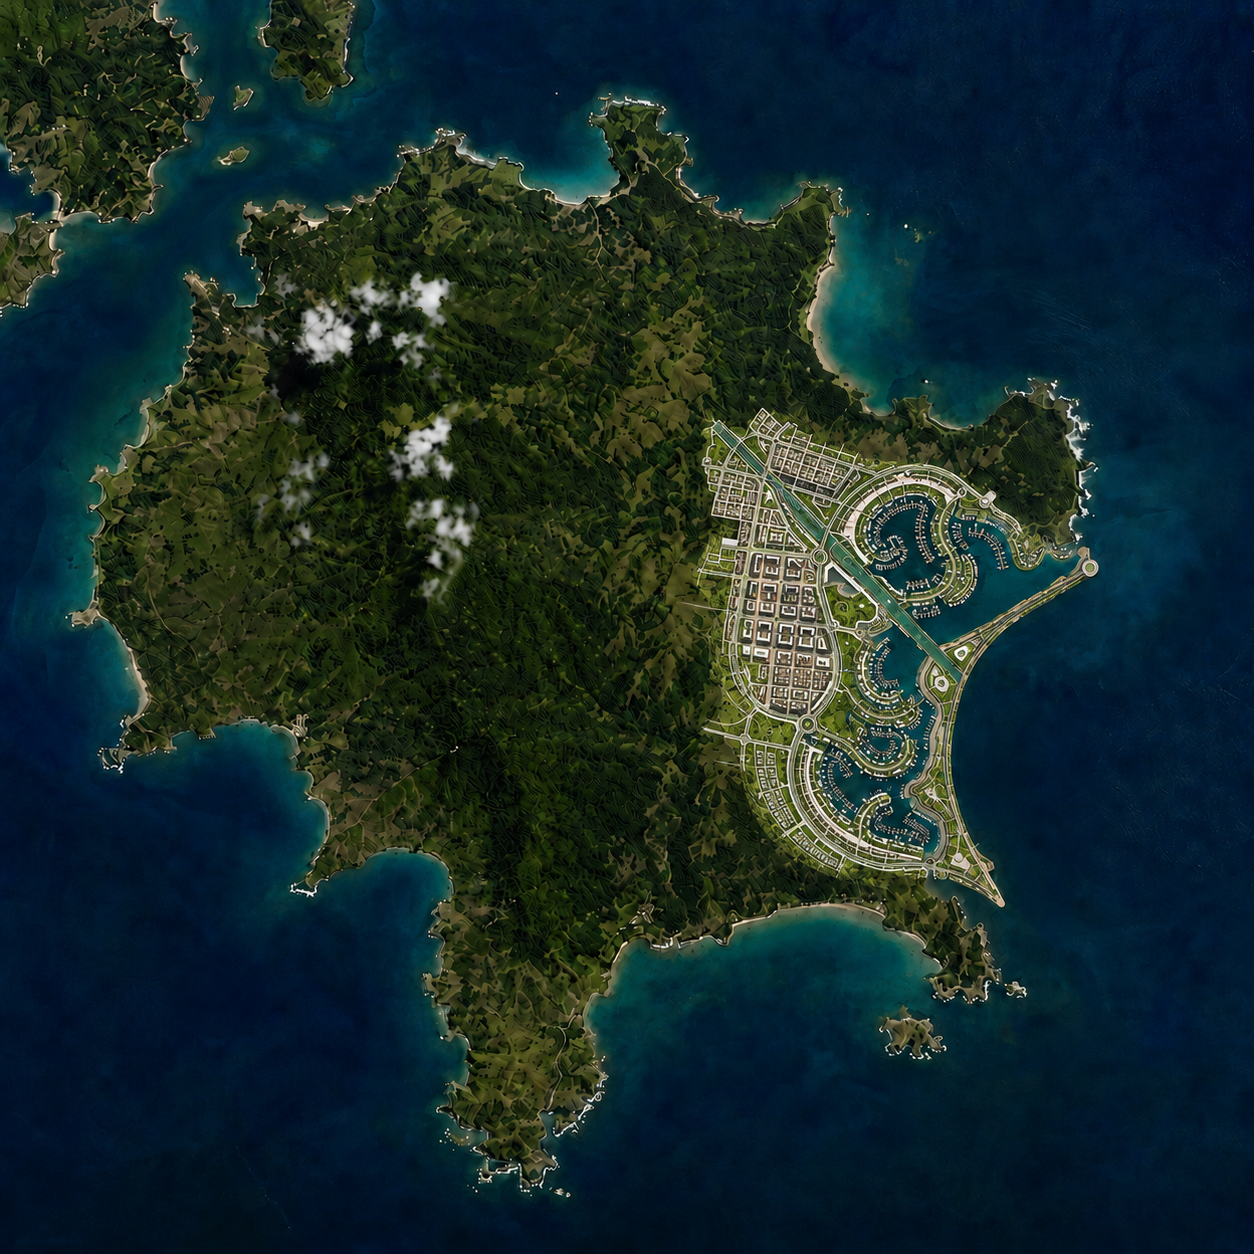 Figure 03. Turning the satellite image into a coastal urban master plan
The key is to describe the system, not only the visual style. Words like road network, urban blocks, waterfront public space, and planning framework help the output stay closer to urban design logic.
Step 4 — Redesign it as a canal city framework
After the first master plan is generated, we can continue editing the same image and push it into a different planning direction.
In this example, we redesign the coastal plan as a canal city framework. Instead of keeping water only at the site edge, we bring water channels into the urban blocks.
redesign the master plan into a canal city framework, integrate waterways into the urban blocks, coastal urban planning, pedestrian waterfront network, preserve the island outline
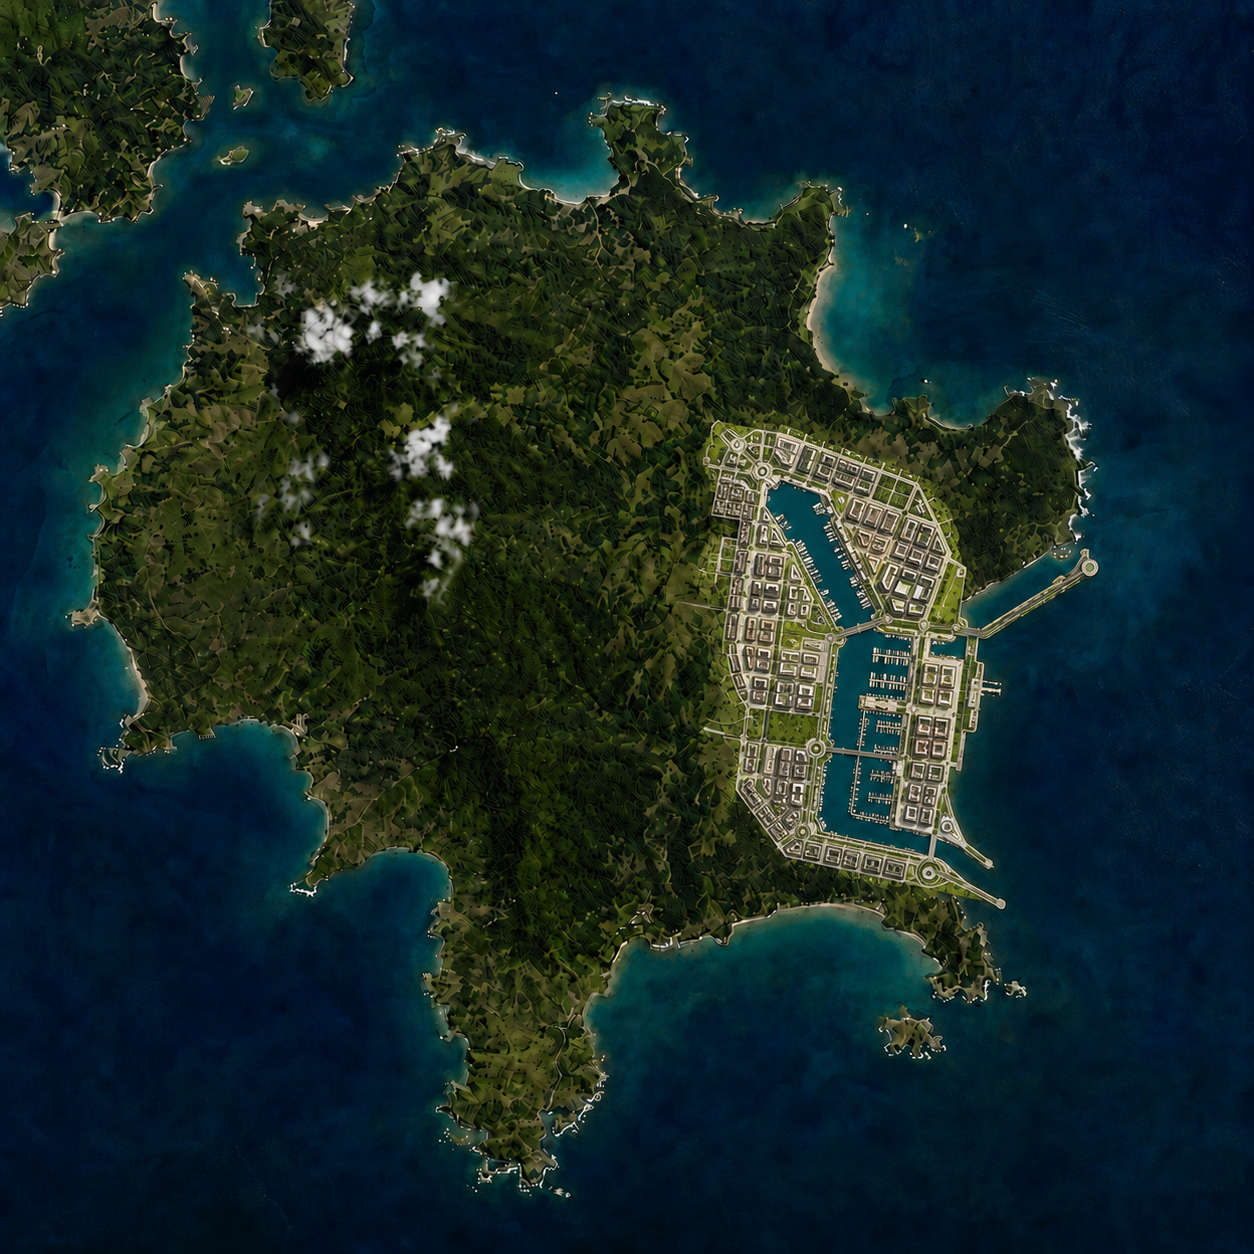 Figure 04. Redesigning the coastal master plan into a canal city framework
This step is important because it changes the role of water. Water is no longer only a boundary. It becomes part of circulation, public space, and the overall city structure.
Step 5 — Add a circular yacht marina
Next, use another prompt edit to introduce a circular yacht marina into the plan.
add a circular yacht marina to the canal city plan, connect it with the water channels, preserve the urban blocks, create a clear waterfront public space around the marina
 Figure 05. Adding a circular yacht marina into the city framework
One issue we often see is that the marina can become just a decorative circle if the prompt is too simple. To avoid that, we describe how it should connect with the water channels and surrounding urban blocks.
Step 6 — Convert the 2D plan into a 3D white massing model
Once the 2D master plan has a clear structure, we convert it into a 3D white massing model.
The purpose of this step is not to create final materials. We use the massing model to review building volume, block density, waterfront scale, and the spatial relationship between the marina and surrounding buildings.
convert the 2D urban master plan into a 3D white massing model, aerial axonometric view, simplified building volumes, preserve waterways and marina layout
 Figure 06. Converting the 2D urban plan into a 3D white massing model
At this stage, clarity is more important than realism. We usually avoid glass, vegetation, crowds, or dramatic lighting because those details can make it harder to evaluate the planning structure.
Step 7 — Push the massing model into an aerial oblique view
After the first 3D massing model, we continue editing the image into an aerial oblique view.
This view helps us understand building height, street hierarchy, waterfront depth, and the relationship between the marina and the canal network.
turn the white massing model into an aerial oblique view, show building height variation, marina relationship, waterfront promenade, simplified architectural massing
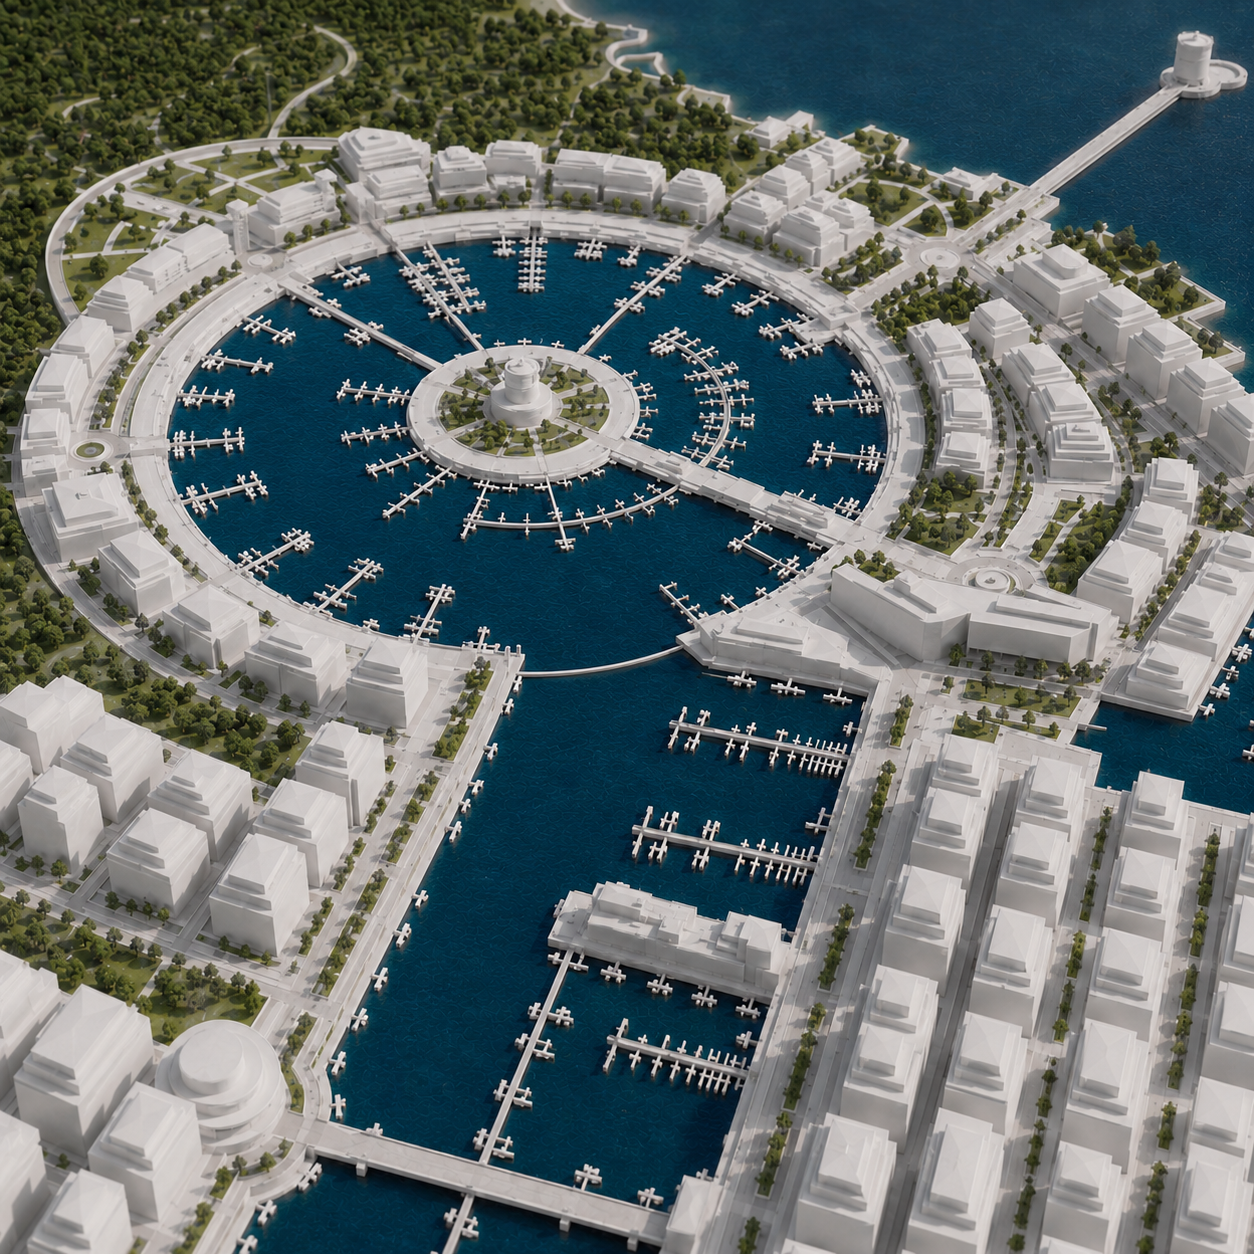 Figure 07. Reviewing the marina and urban blocks from an aerial oblique view
We still keep the image mostly white and diagrammatic. If the model becomes realistic too early, it becomes harder to judge whether the urban structure is actually working.
Step 8 — Create a human-scale marina perspective
Once the plan and massing are clear, we move from the aerial view to a human-scale marina perspective.
This step helps us test whether the circular yacht marina feels convincing at eye level. It also gives us a better sense of promenade width, waterfront activity, and the scale of nearby buildings.
transform the aerial white massing model into a human-scale marina perspective, circular yacht harbor, waterfront promenade, boats, pedestrian walkway, surrounding buildings
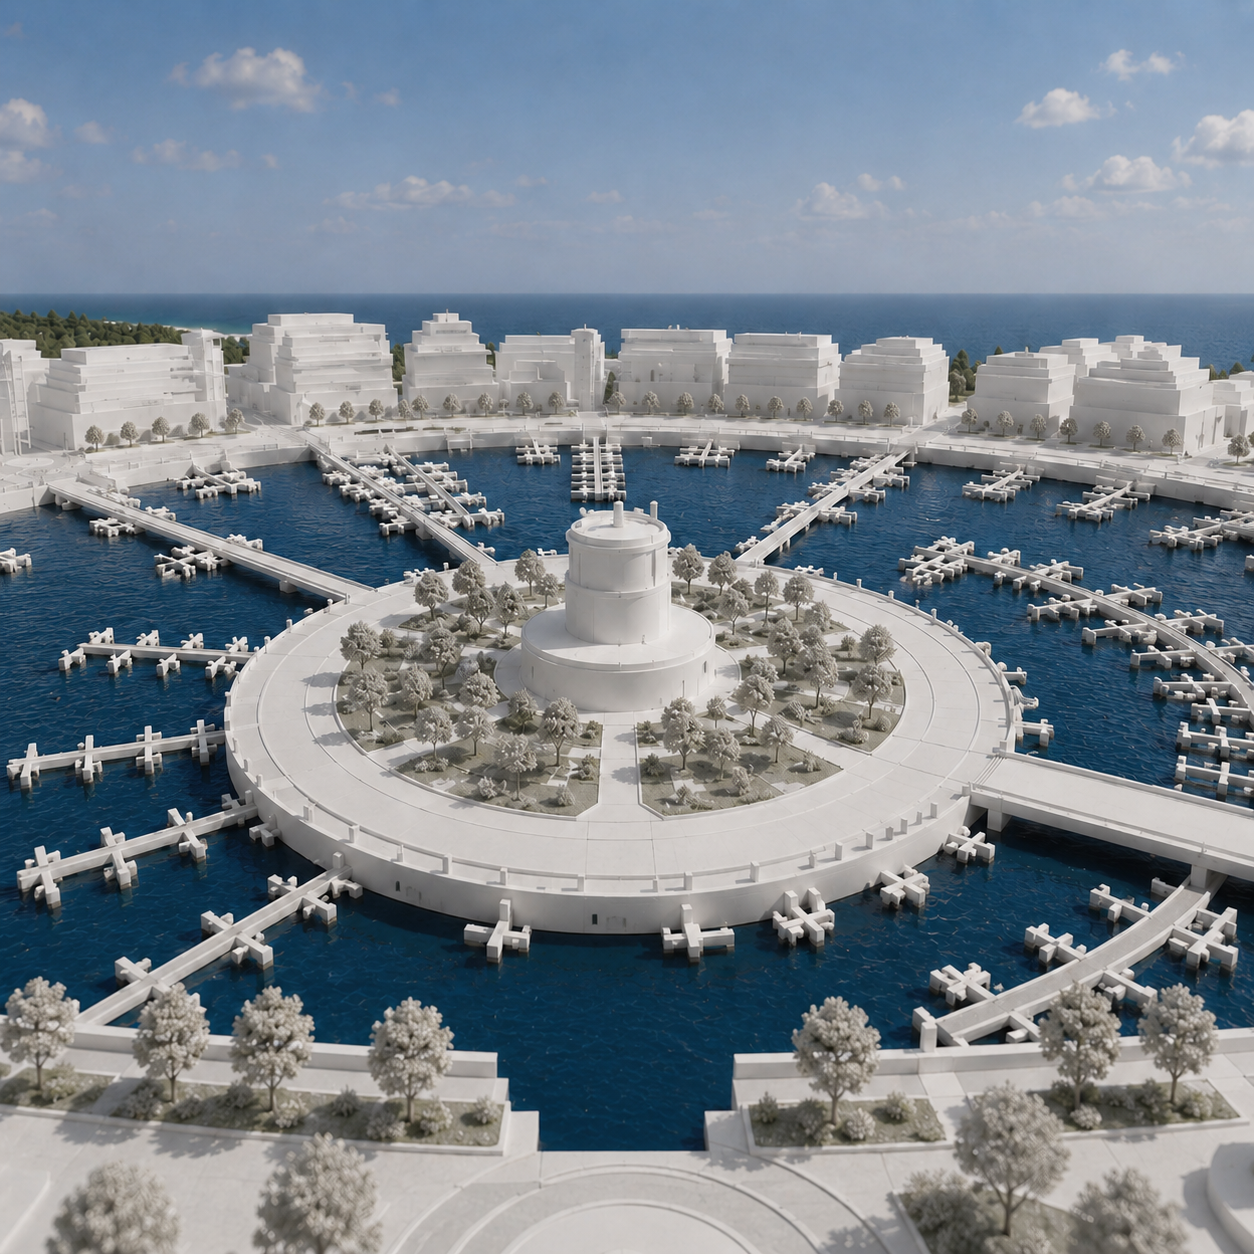 Figure 08. Moving from aerial massing to a human-scale marina perspective
This is where we start adding more spatial detail, but we still try to preserve the original planning framework.
Step 9 — Turn the white model into a realistic marina rendering
Finally, we turn the white massing model into a realistic yacht marina rendering.
transform the white massing model into a realistic marina rendering, circular yacht harbor, waterfront promenade, boats, soft daylight, realistic water reflection, coastal urban atmosphere
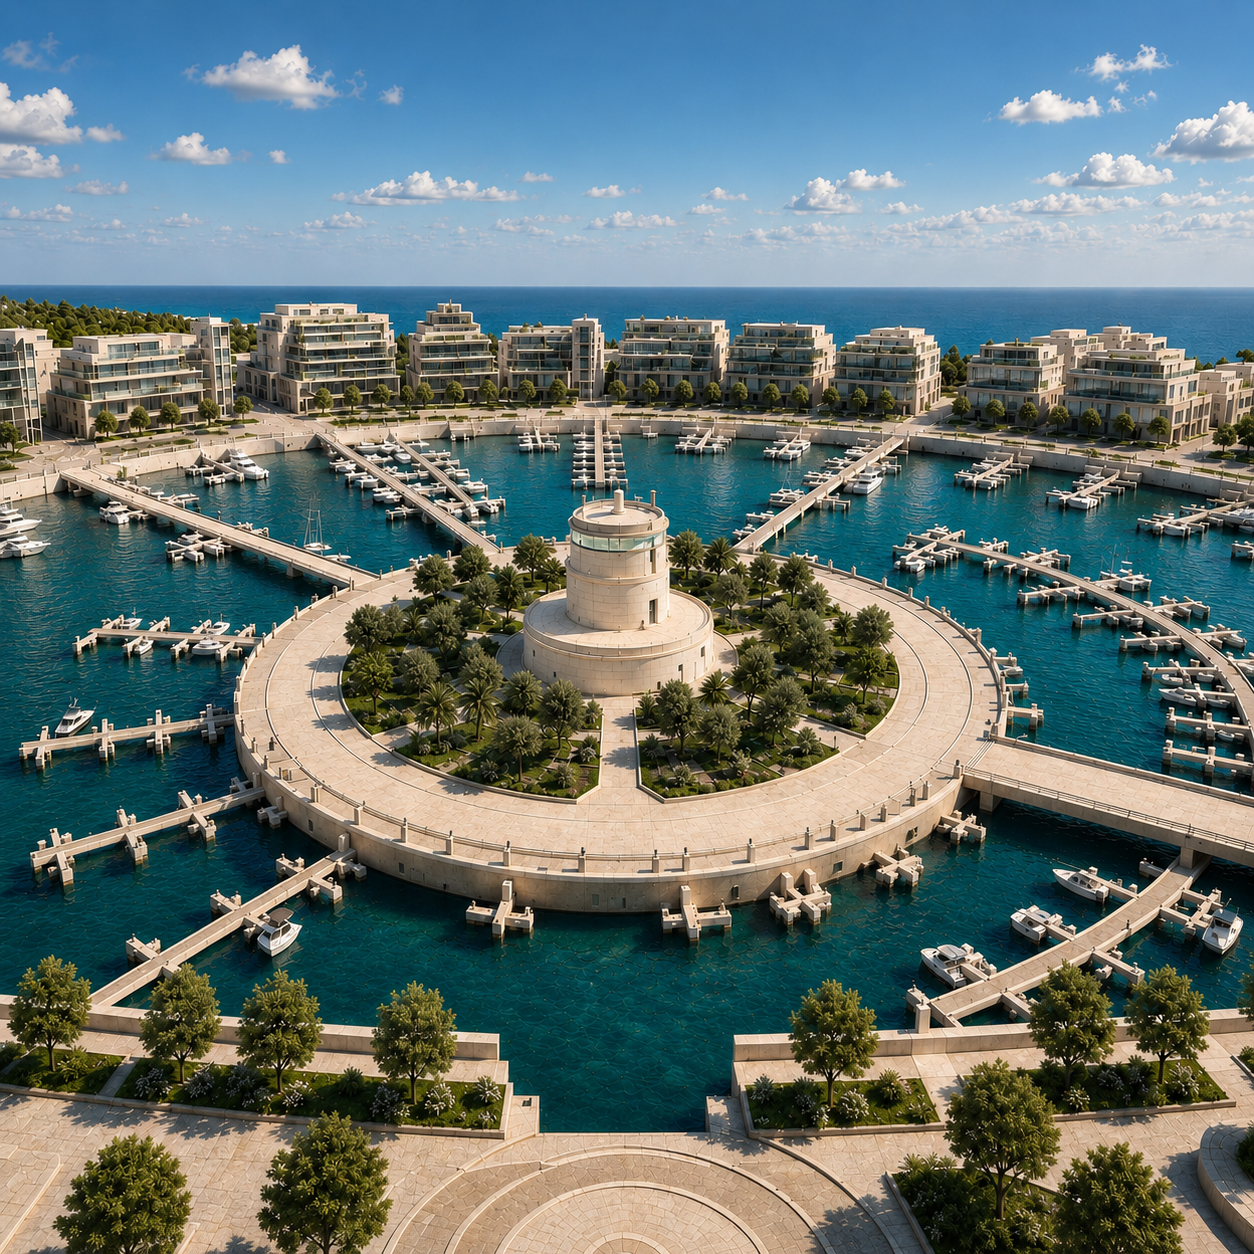 Figure 09. Turning the white massing model into a realistic marina rendering
When jumping from white model to realistic render, two problems can happen: the AI may change the planning structure, or the marina scale may become unrealistic. To reduce that risk, we split the prompt into two goals: preserve the planning framework, then add rendering details.
A satellite image is not just a reference base map; it can also serve as the starting point for early-stage urban design exploration.
This workflow still requires human judgment. Real site conditions, zoning, transportation, environmental impact, and development capacity cannot be decided by generated images alone. But for concept proposals, ReRender Workbench helps us turn abstract planning ideas into visual options that can be reviewed, compared, and discussed earlier.
Related posts
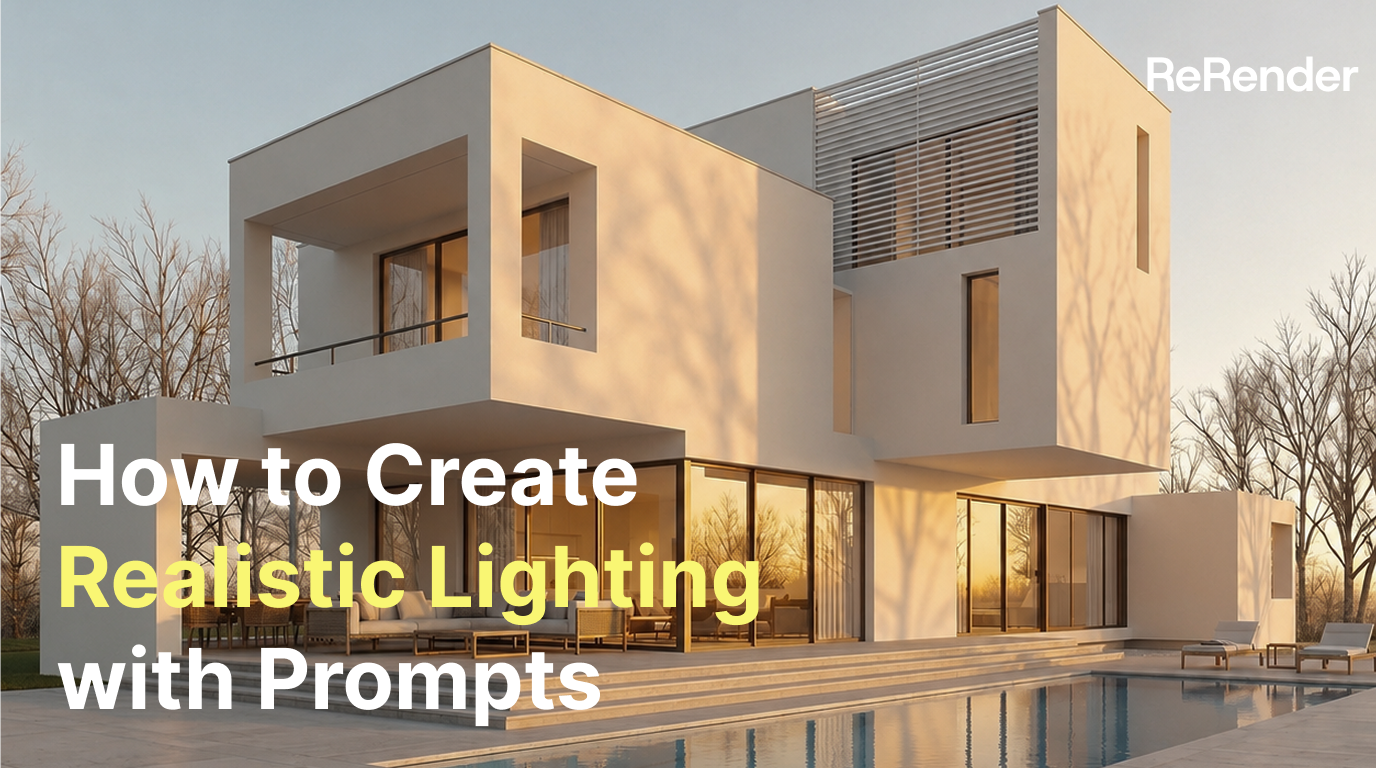
How to Create Realistic Lighting with Prompts
The same minimal scene can feel completely different when you change the lighting prompt.
Willy·2026年7月9日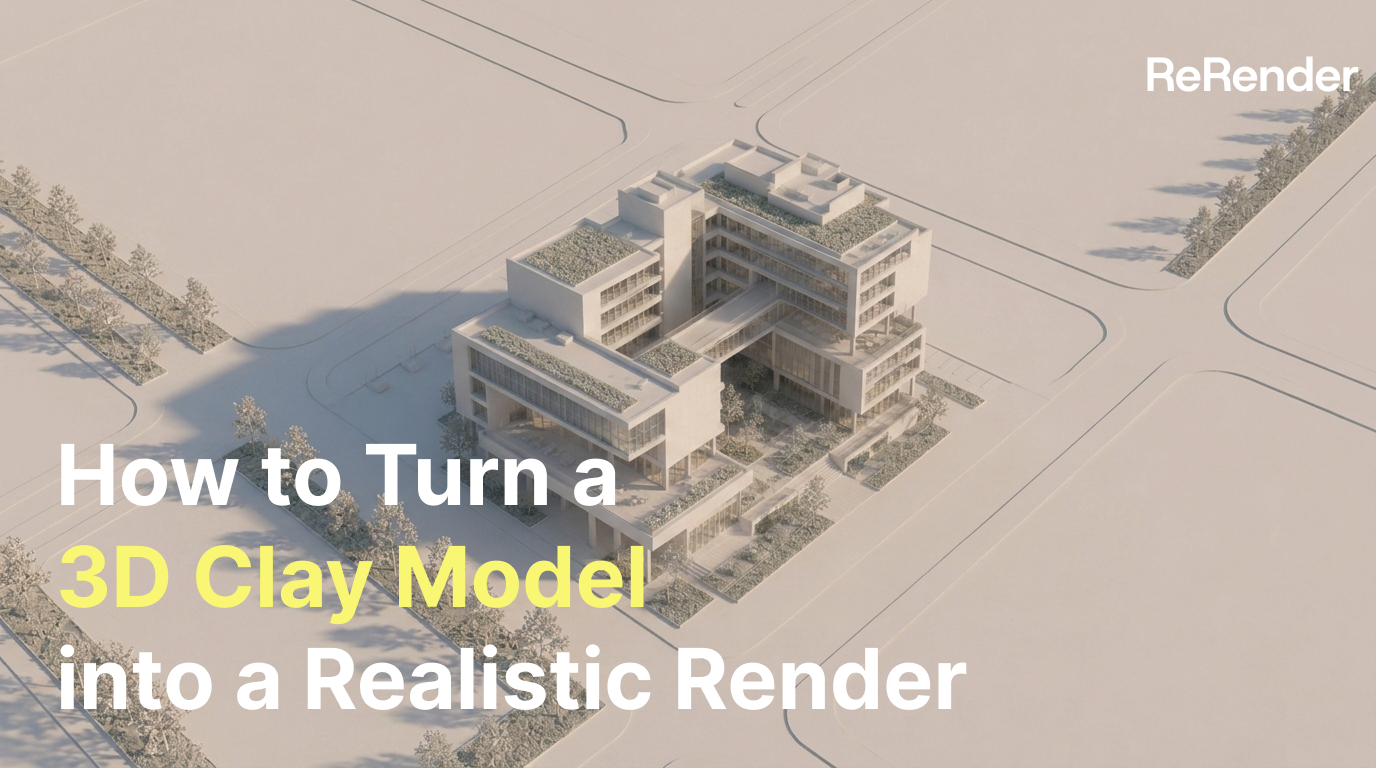
How to Turn a 3D Clay Model into a Realistic Render
A realistic render is not created in one step. It is built layer by layer, from materials and context to lighting, fog, and final glow.
Willy·2026年6月29日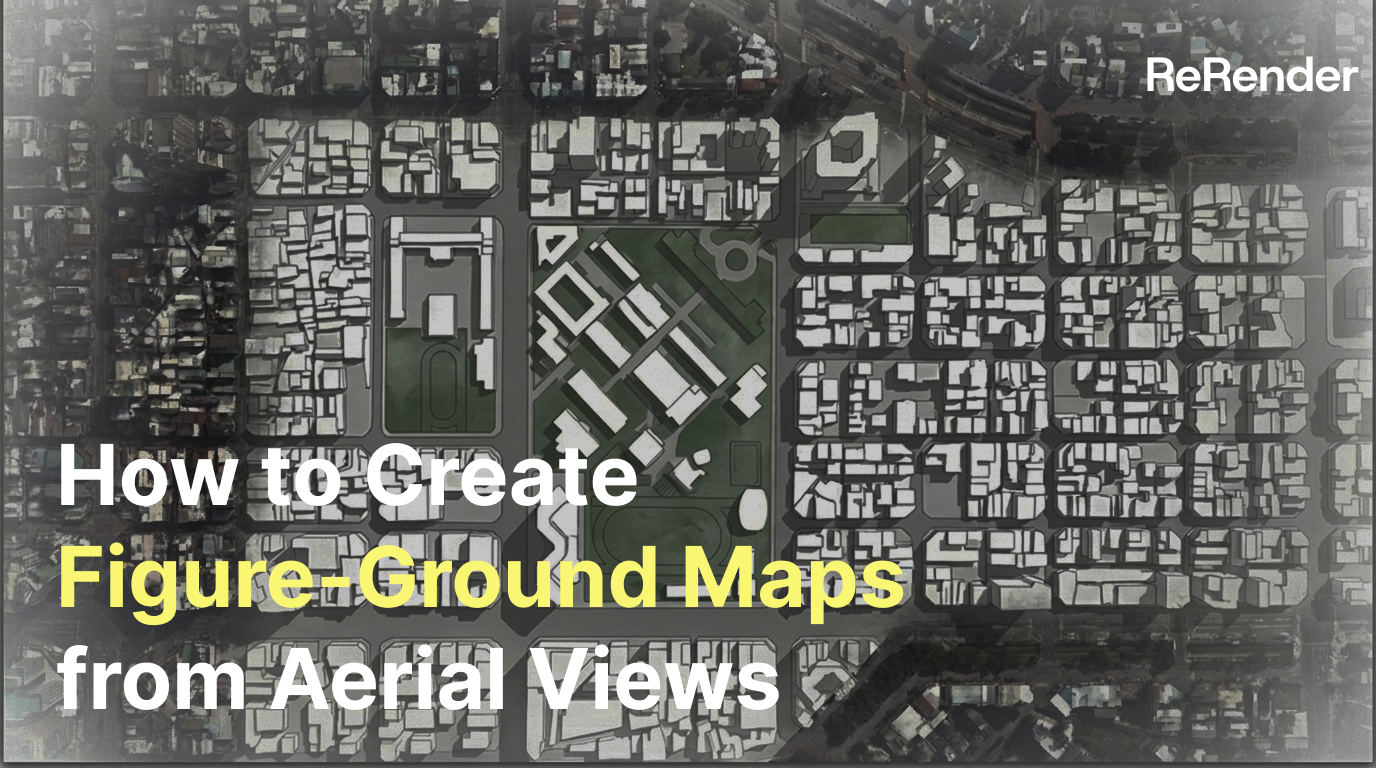
How to Create Figure-Ground Maps from Aerial Views
A messy aerial city image can become a clean, readable figure-ground map with the right prompt and edit workflow.
Willy·2026年6月18日